How to Prevent Ice Dams on Your Roof
Winter in East Tennessee can bring beautiful snowfalls—but it can also cause serious roofing issues if your home isn’t properly prepared. One of the most common cold-weather problems homeowners face is the formation of ice dams. These thick ridges of ice form along the edge of your roof, preventing melting snow from draining properly. Over time, ice dams can lead to leaks, damaged shingles, and costly repairs.
Fortunately, ice dams are preventable. In this guide, we’ll explain what causes them, how to spot early warning signs, and what steps you can take to protect your roof and home.
If you suspect ice buildup or roof damage this winter, RC Roofing LLC can help with expert inspections and repairs to keep your home safe and dry.
What Are Ice Dams?
An ice dam is a ridge of solid ice that forms at the edge of your roof, usually near the gutters. When snow melts on a warmer part of the roof, the water runs down and refreezes at the colder edge, creating a barrier.
How ice dams form:
- Heat escapes from your attic and warms the roof’s upper sections.
- Snow melts on those warmer spots.
- Melted water flows downward toward the colder eaves.
- The water refreezes into a dam of ice.
- Additional melting snow backs up behind the dam, seeping under shingles.
Over time, this trapped water can leak into your attic, ceilings, and walls—causing damage that’s both expensive and dangerous if left untreated.
Why Ice Dams Are a Problem
While ice dams may look harmless, they can create significant structural and financial issues.
Potential damage includes:
- Roof leaks: Water backs up under shingles and seeps into insulation and drywall.
- Gutter damage: The weight of ice can pull gutters away from the roofline.
- Shingle deterioration: Repeated freeze-thaw cycles crack and loosen roofing materials.
- Mold and mildew: Moisture infiltration promotes unhealthy mold growth in attics.
- Interior stains: Ceiling and wall discoloration from leaks can lower your home’s value.
Preventing ice dams not only protects your home but also extends the life of your roofing system. To learn more about professional roofing care, visit our residential roofing services page.
Step 1: Ensure Proper Attic Insulation
The most effective way to prevent ice dams is by maintaining consistent roof temperatures. This starts with attic insulation.
When heat escapes from your living space into the attic, it warms the roof and melts snow unevenly. Adequate insulation keeps that heat where it belongs—inside your home.
Insulation tips:
- Aim for 12–14 inches of insulation in cold climates.
- Use materials like fiberglass batts, blown-in cellulose, or spray foam.
- Seal any gaps around recessed lights, attic hatches, or vent pipes.
If you’re unsure about your attic’s insulation level, have it inspected by professionals like RC Roofing LLC. Their team can identify weak spots that contribute to uneven heat distribution and ice buildup.
Step 2: Improve Attic Ventilation
Even with proper insulation, you need good ventilation to balance attic temperature and prevent hot air from getting trapped. Ventilation allows cold air to enter and warm air to exit, keeping the roof surface closer to the outdoor temperature.
Common ventilation types:
- Soffit vents: Located under eaves, they let in cold air.
- Ridge vents: Installed along the roof’s peak to release warm air.
- Gable vents: Promote cross-ventilation between attic sides.
When these systems work together, they create a steady airflow that helps minimize snow melting on the roof.
For a professional assessment of your roof’s ventilation, contact RC Roofing LLC. Their experts can optimize airflow to improve both energy efficiency and winter performance.
Step 3: Seal Air Leaks
Air leaks are a hidden cause of ice dam formation. Warm air escaping from your living spaces through the attic increases the roof’s surface temperature, melting snow faster.
Areas to check:
- Attic access doors or pull-down stairs
- Recessed lighting fixtures
- Exhaust vents and chimneys
- Plumbing and electrical openings
Use caulk, weatherstripping, or foam sealant to close these gaps. The goal is to create a tight seal that prevents warm air from entering the attic.
Step 4: Keep Gutters and Downspouts Clear
Clogged gutters can make ice dam problems worse. When debris prevents melted snow from draining, it freezes and adds to the buildup.
Maintenance tips:
- Clean gutters twice a year—once in late fall and again in spring.
- Remove leaves, twigs, and debris that block water flow.
- Consider installing gutter guards to prevent clogs.
- Make sure downspouts direct water at least five feet away from your foundation.
Regular cleaning helps water flow freely, reducing the chance of ice forming at the eaves. Check out our blog for more seasonal maintenance tips.
Step 5: Use Roof Rakes for Snow Removal
If heavy snow accumulates on your roof, it’s important to remove it before it melts and refreezes. A roof rake allows you to clear snow safely from the ground, preventing uneven melting.
How to use a roof rake safely:
- Choose a rake with a long extension handle.
- Start near the eaves and pull snow downward in gentle motions.
- Avoid scraping shingles to prevent damage.
- Never climb onto the roof during icy conditions.
Removing excess snow helps maintain consistent roof temperatures and reduces pressure on your structure.
Step 6: Consider Installing Heat Cables
Heat cables, also known as heat tape, can help prevent ice dams by keeping roof edges warm enough to allow water to flow into gutters rather than freezing.
Where to install heat cables:
- Along eaves and gutters
- Around valleys or low-slope sections
- Near downspouts and roof edges
Heat cables are a good supplemental measure but should not replace proper insulation or ventilation. When installed correctly by professionals like RC Roofing LLC, they provide added protection during harsh winters.
Step 7: Schedule Regular Roof Inspections
Even with preventative measures, seasonal roof inspections are crucial to identifying potential weak spots before ice dams cause damage.
A professional inspection includes:
- Checking flashing and sealants
- Examining shingles for cracks or missing pieces
- Assessing attic ventilation and insulation
- Looking for early signs of moisture or mold
For East Tennessee homeowners, winter weather can be unpredictable. A quick inspection by RC Roofing LLC before the cold season ensures your roof is ready to handle snow and ice safely.
Step 8: Install an Ice and Water Shield
During a roof replacement or major repair, adding an ice and water shield underlayment is one of the best long-term solutions for ice dam prevention.
This waterproof barrier is installed beneath shingles along roof edges, valleys, and other vulnerable areas. It prevents water from seeping into your home, even if ice forms on top.
If you’re considering a roof upgrade or replacement, talk to RC Roofing about integrating this protection into your residential roofing system. It’s a small investment that pays off for decades of peace of mind.
Step 9: Trim Overhanging Branches
Tree branches that hang over your roof can drop snow, leaves, and shade that contribute to uneven roof temperatures. By trimming them back, you allow more sunlight to reach your roof, which helps snow melt evenly and reduces the risk of ice dam formation.
As a bonus, trimming trees prevents branches from breaking and damaging your roof during storms.
Step 10: Be Proactive with Roof Replacement
If your roof is nearing the end of its life or showing signs of damage, no amount of maintenance will fully prevent ice dams. Older materials lose their ability to shed water efficiently, and aging shingles often crack under fluctuating temperatures.
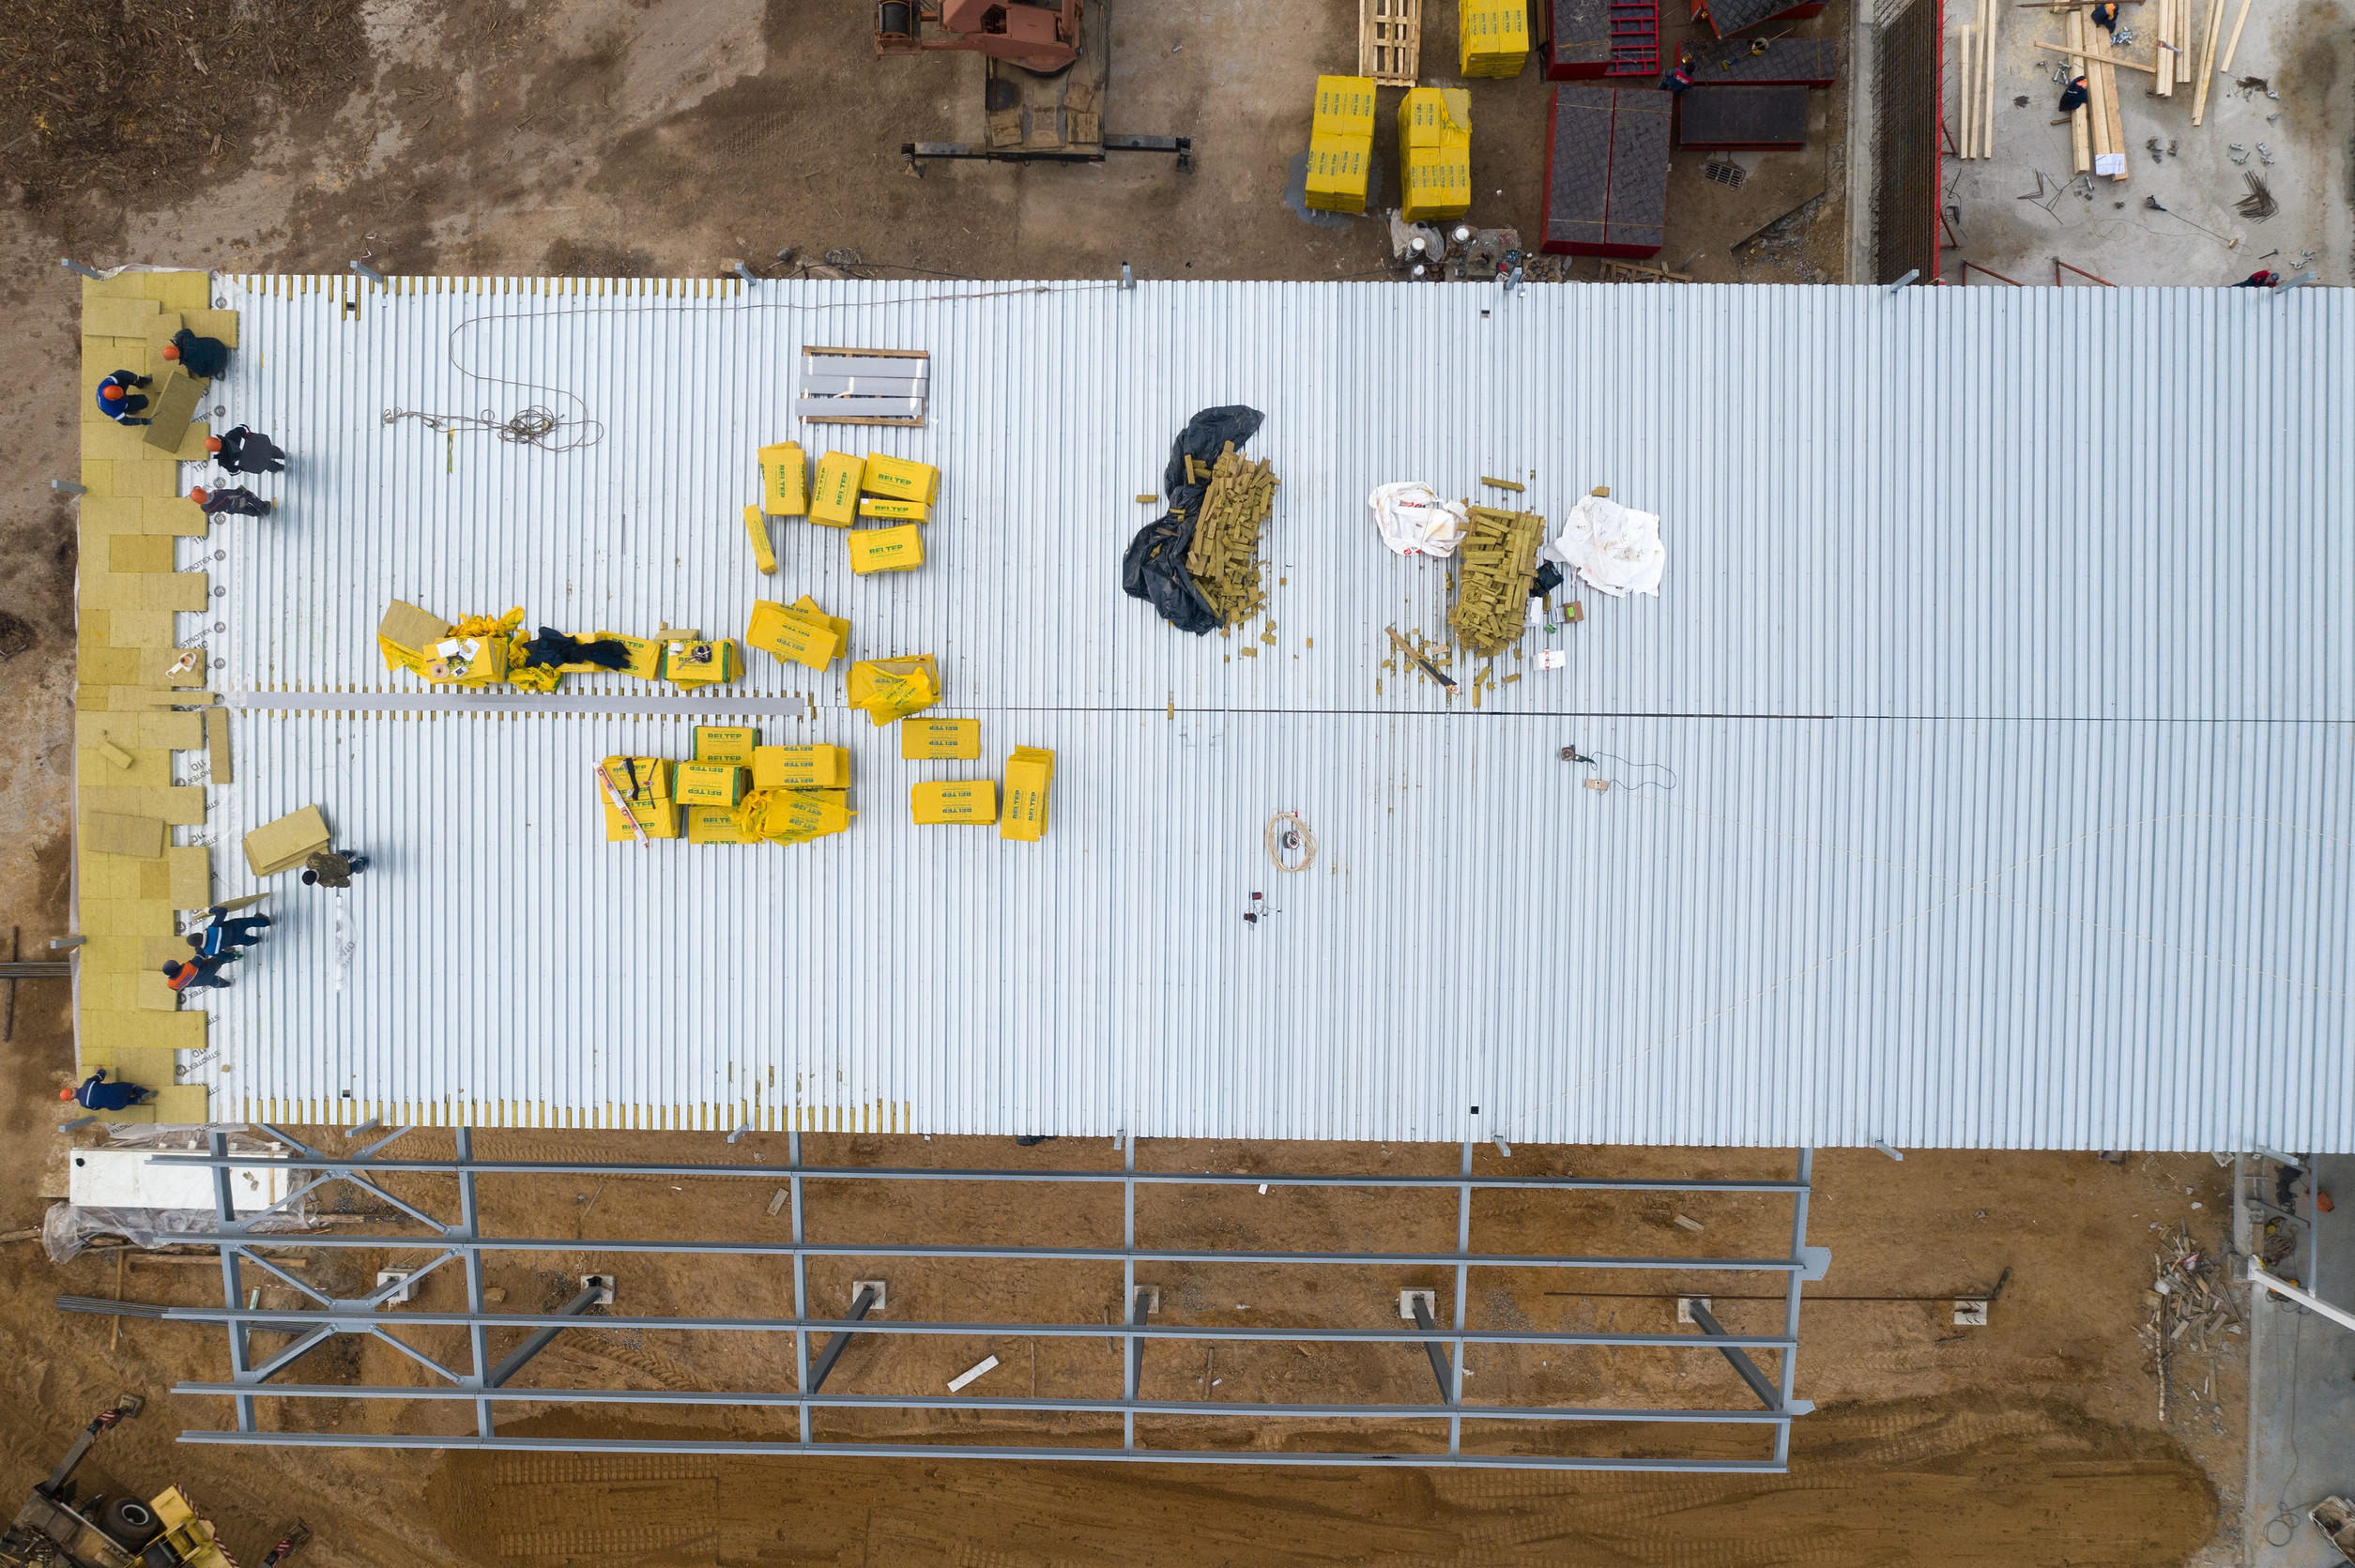
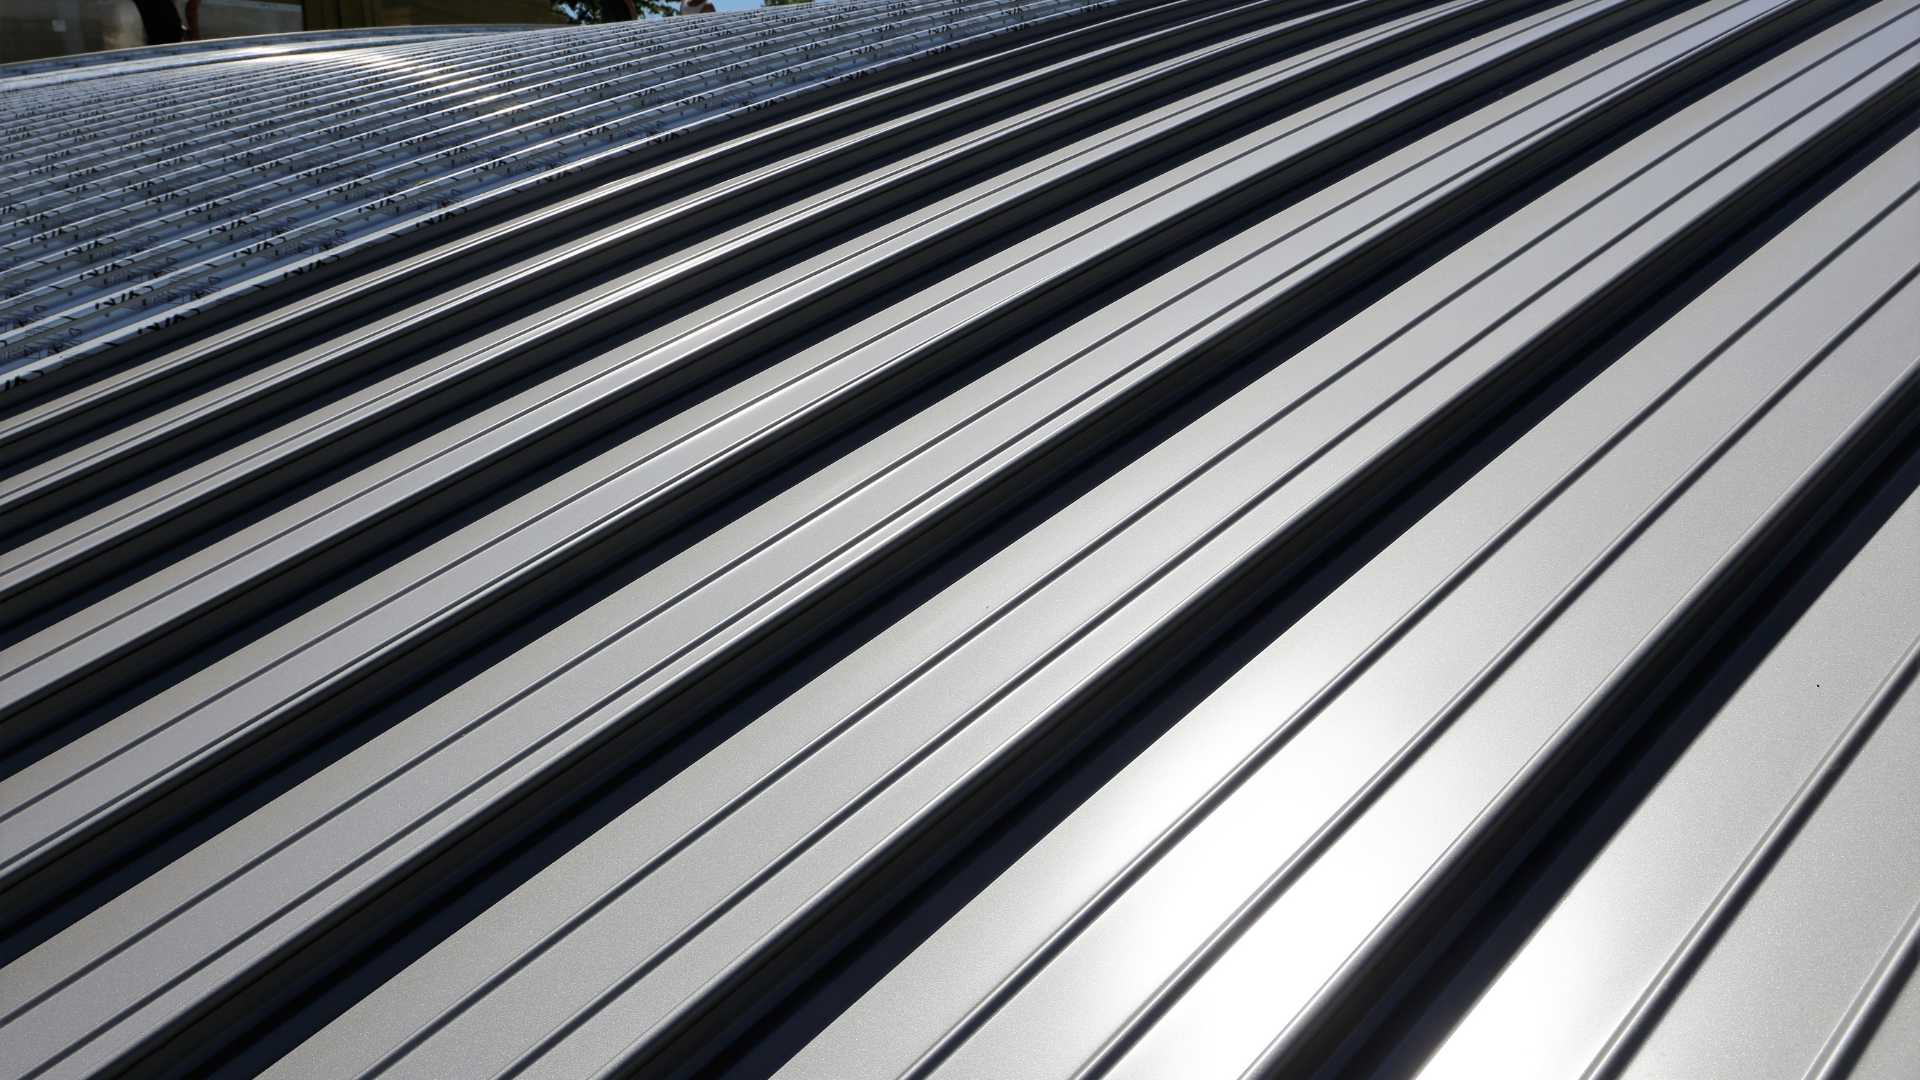
Replacing your roof with modern, energy-efficient materials improves performance and protection. Metal roofing, in particular, is an excellent choice for snow-prone regions because it sheds ice and snow more easily than asphalt shingles.
You can see examples of high-quality installations in the RC Roofing photo gallery.
What Not to Do When Removing Ice Dams
While it might be tempting to tackle an ice dam yourself, improper removal can cause more harm than good. Avoid these common mistakes:
- Do not use metal tools like ice picks or hammers—these can puncture shingles.
- Do not apply salt or chemicals on your roof—they can corrode metal and damage shingles.
- Do not climb onto icy roofs—the surface is extremely slippery and dangerous.
If an ice dam has already formed, call a professional roofing contractor who can safely remove it and inspect for underlying damage.
Signs You May Already Have Ice Dam Damage
Sometimes, ice dams form without immediate visible signs. However, there are a few indicators that suggest water may already be infiltrating your home:
- Water stains on ceilings or walls
- Peeling paint or bubbling plaster
- Sagging gutters
- Damp attic insulation
- Persistent leaks near roof edges
If you notice any of these symptoms, schedule an inspection right away. RC Roofing LLC can identify the source of the issue and perform necessary repairs before further damage occurs.
FAQs About Ice Dams
Q: Can ice dams form on metal roofs?
A: Metal roofs are less likely to develop ice dams because they shed snow efficiently, but they can still form under the right conditions if heat escapes from the attic.
Q: How thick can an ice dam get?
A: Ice dams can reach several inches thick and weigh hundreds of pounds, causing serious strain on gutters and roof edges.
Q: Are heat cables a permanent solution?
A: No. Heat cables help manage ice but should be used in combination with insulation, ventilation, and proper roof maintenance.
Q: Will insurance cover ice dam damage?
A: In many cases, homeowners insurance covers water damage from ice dams, but not the cost of preventing them. Check your policy or contact your insurer for details.
Conclusion
Ice dams can cause serious and expensive roof problems if left unchecked. Fortunately, with the right combination of insulation, ventilation, and maintenance, you can prevent them from forming in the first place.
Keeping your attic cool, your gutters clean, and your roof in good condition goes a long way toward protecting your home during winter.
If you need help inspecting or winterizing your roof, contact RC Roofing LLC. Our experienced team offers reliable residential and commercial roofing services throughout Townsend, Sevierville, and the surrounding East Tennessee region.
Visit our blog for more maintenance tips or explore our gallery to see how our professional roofing services help homeowners stay protected year-round.