Step-by-Step Roof Installation Process
A professional roof installation is far more than simply nailing shingles onto a roof deck. It is a carefully planned process designed to ensure long-term protection, energy efficiency, and structural integrity. Understanding each phase of a roofing project helps homeowners know what to expect and why working with experienced roofing professionals matters.
1. Initial Roof Inspection and Assessment
Every successful roof installation begins with a comprehensive inspection. Roofing contractors evaluate the existing roof, decking condition, ventilation system, flashing details, and overall structural integrity before recommending a replacement plan.
During this phase, homeowners often discuss roofing material options, project timelines, and budgeting considerations. Understanding how much a new roof costs can help property owners prepare financially before installation begins.
2. Choosing the Right Roofing Material
Selecting the proper roofing system is one of the most important decisions in the installation process. Factors such as durability, aesthetics, energy efficiency, climate performance, and budget all influence material selection.
Many East Tennessee homeowners compare asphalt shingles, metal roofing, and specialty roofing systems. Reviewing resources about choosing the right roofing material for your Tennessee home can help narrow down the best option for your property.
3. Preparing the Property
Before installation begins, contractors prepare the property to minimize disruption and protect landscaping, vehicles, and exterior features. Tarps may be placed around the home, and staging areas are established for materials and debris collection.
Proper preparation also includes obtaining permits when required and coordinating material deliveries to keep the project running efficiently.
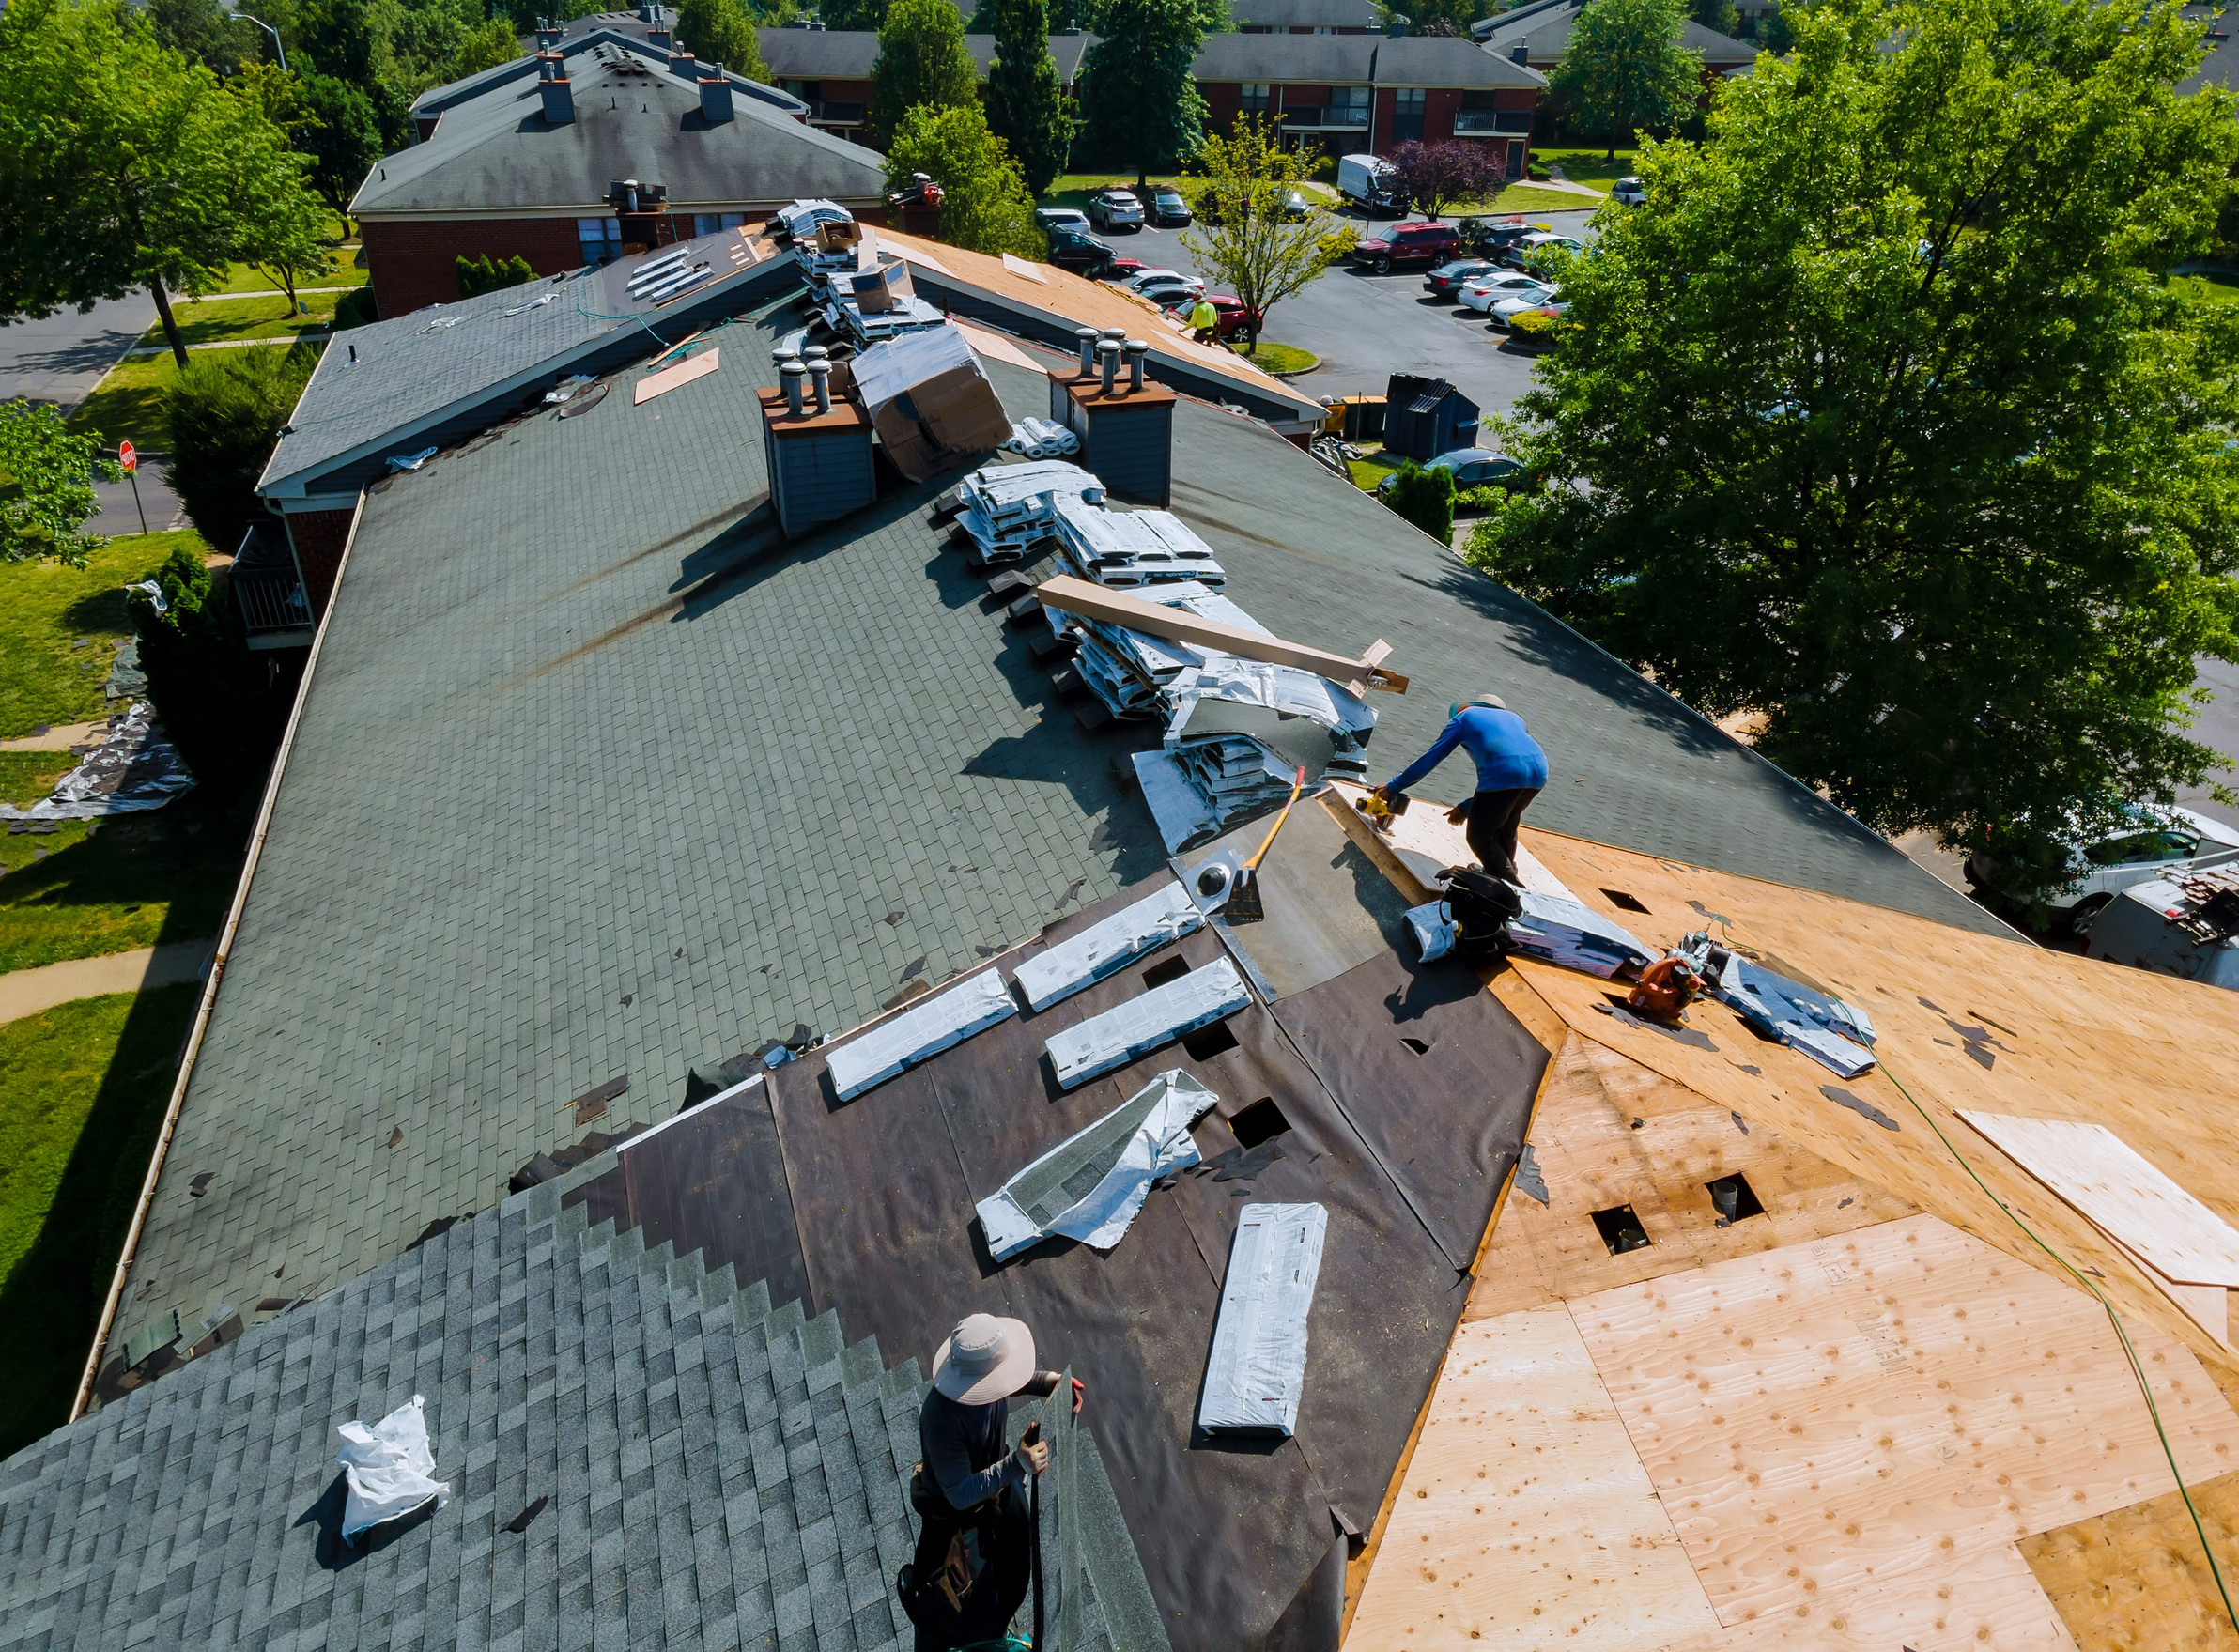
4. Removing the Existing Roof
In most roof replacement projects, the old roofing materials must be removed before installation can begin. This tear-off process allows contractors to inspect the roof deck and identify hidden issues that may not have been visible previously.
Homeowners often ask whether a complete tear-off is necessary. The answer depends on the roof's condition and local building requirements. Understanding whether a roof overlay or tear-off is the better option can help clarify the advantages of each approach.
5. Inspecting and Repairing the Roof Deck
Once the old roofing material is removed, the roof decking is carefully inspected for signs of rot, moisture damage, warping, or structural weakness.
If damaged decking is discovered, repairs or replacements must be completed before new roofing materials are installed. In some cases, contractors may determine that portions of the decking require replacement to ensure a stable foundation. Homeowners can learn more about when roof decking must be replaced during roofing projects.
6. Installing Underlayment and Water Protection Systems
After the deck is approved, contractors install underlayment systems that serve as secondary moisture barriers beneath the primary roofing material.
Additional protection may include:
- Ice and water shields
- Synthetic underlayment
- Drip edge installation
- Valley protection systems
- Flashing upgrades
These components play a critical role in preventing future leaks and extending the lifespan of the roof.
7. Addressing Ventilation Requirements
Ventilation is often overlooked, yet it directly affects roof performance, energy efficiency, and moisture management.
Proper attic ventilation helps regulate temperatures and reduce moisture buildup. Homeowners should understand the importance of proper roof ventilation before installation begins, as ventilation upgrades are often incorporated into replacement projects.
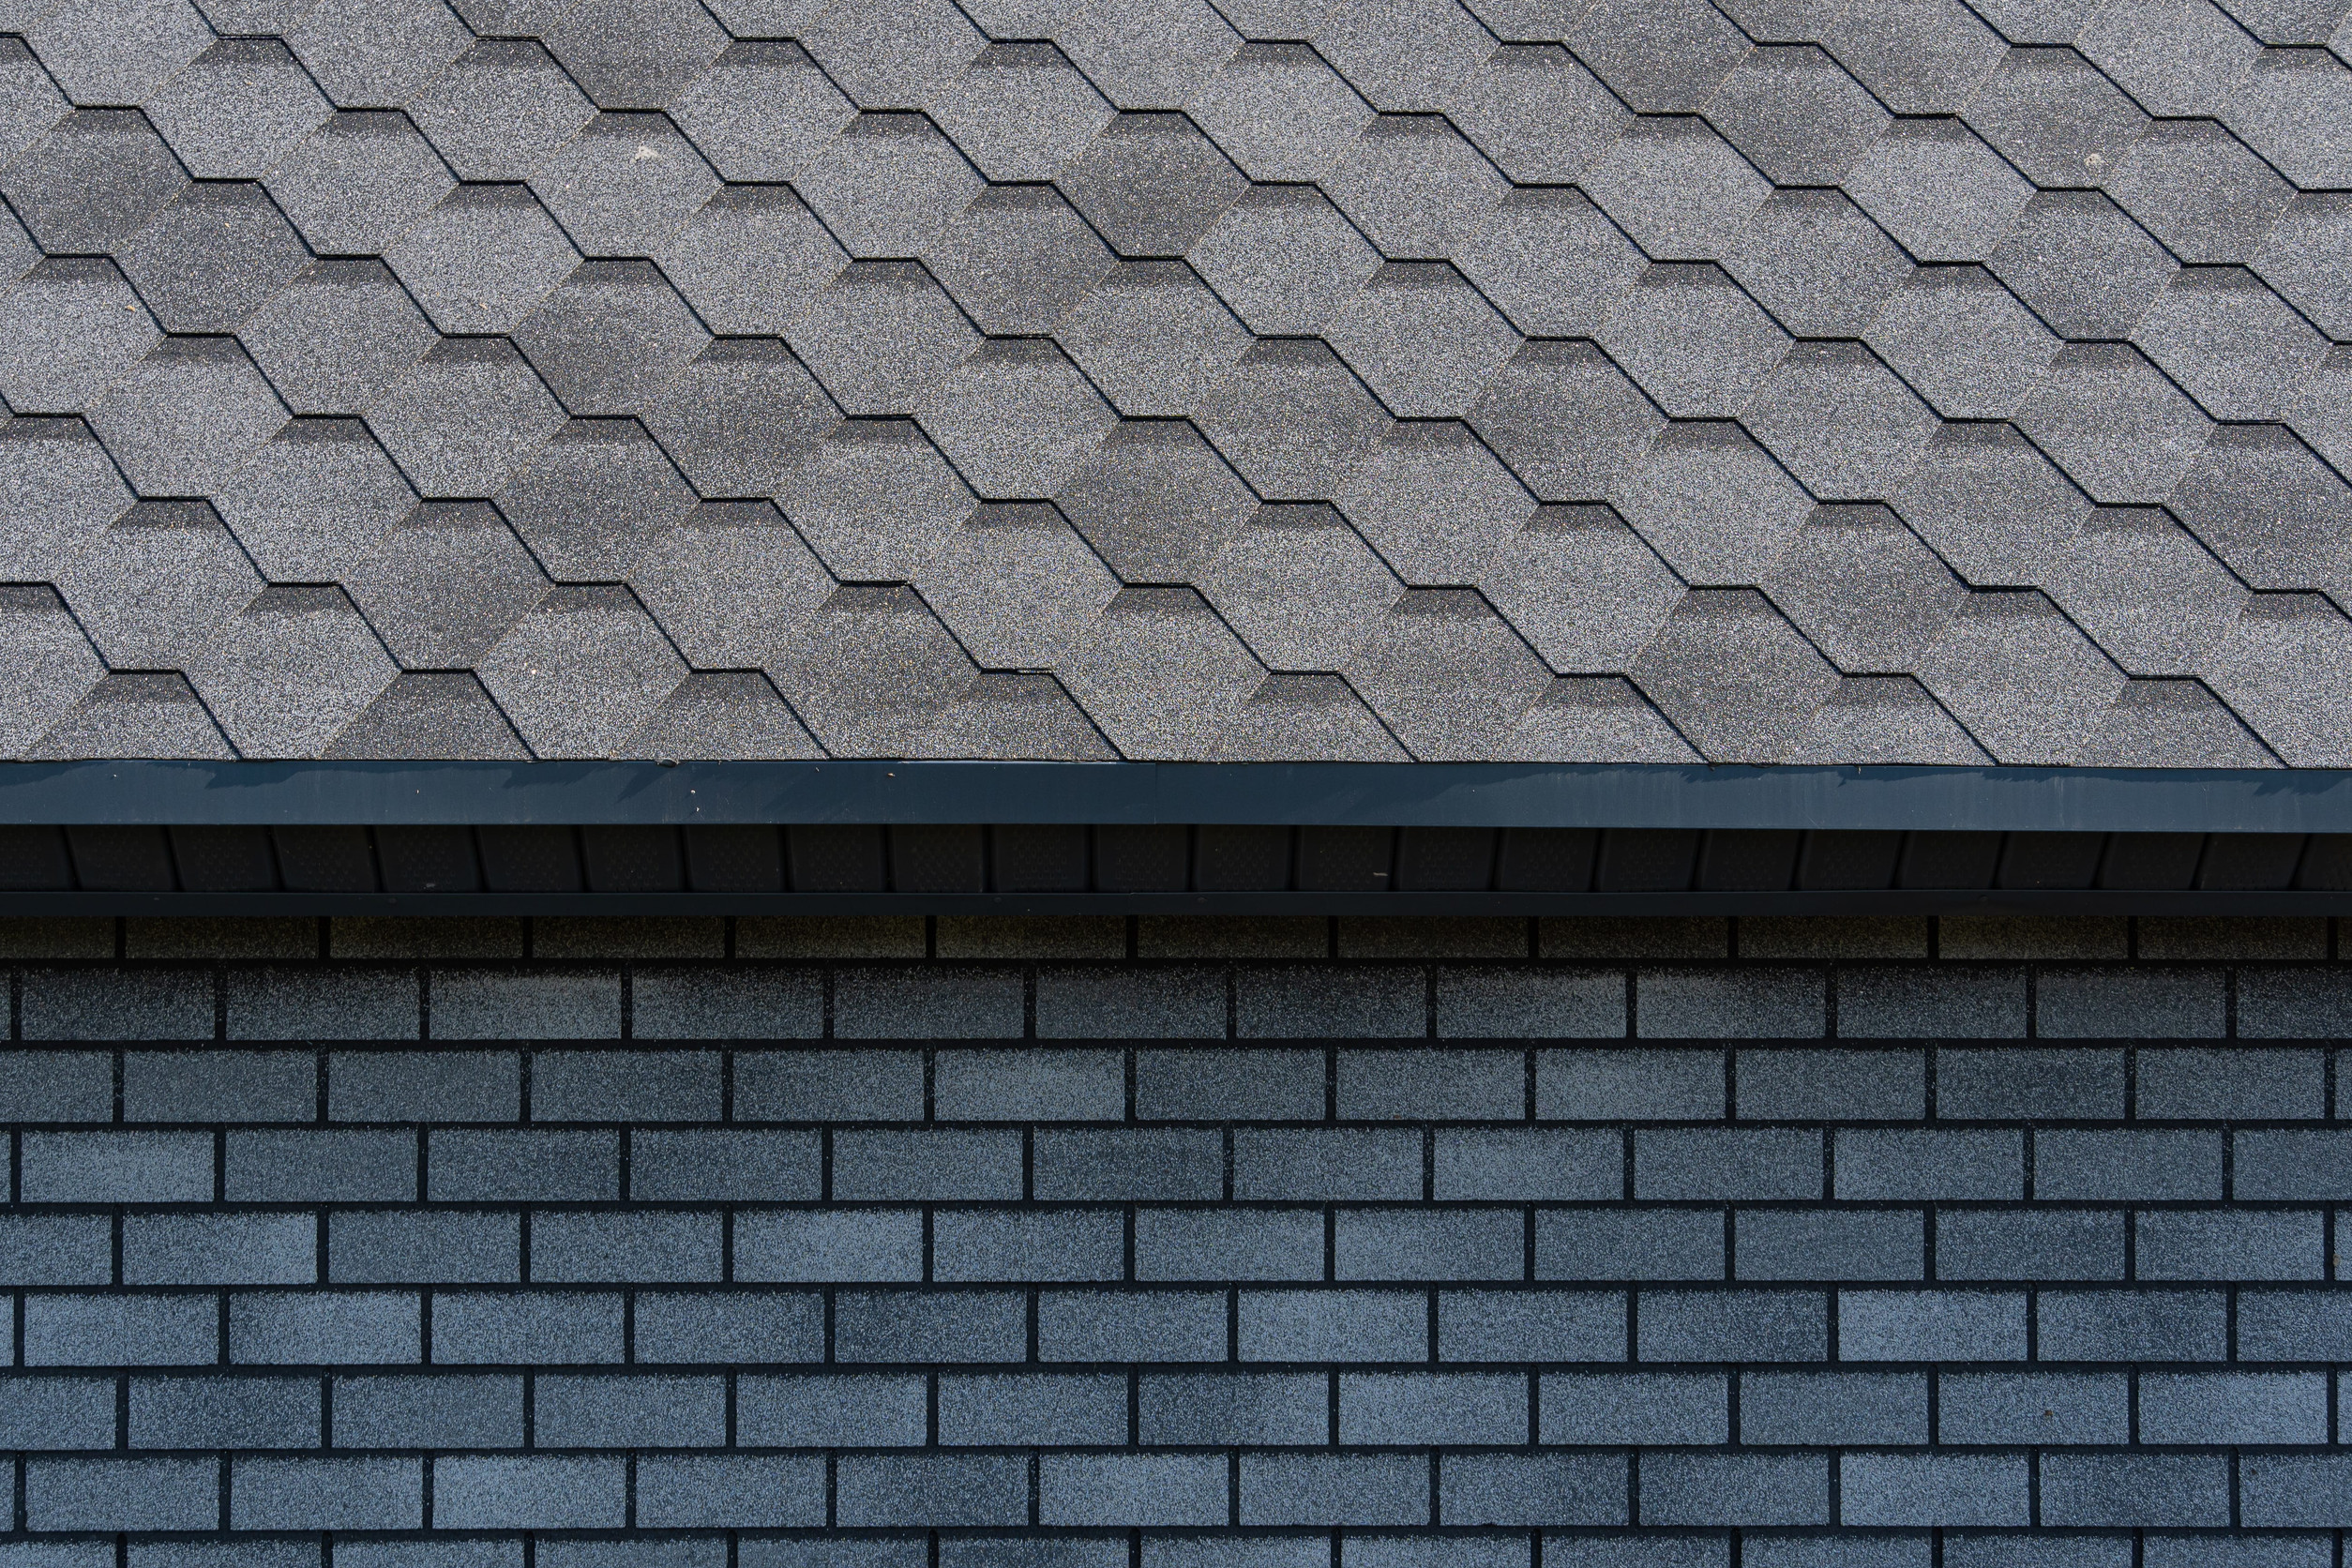
8. Installing the Roofing Material
With the foundation complete, installation of the primary roofing material begins. The exact process varies depending on whether the roof utilizes asphalt shingles, metal panels, TPO membranes, PVC systems, or other materials.
Roofers follow manufacturer specifications to ensure proper fastening, alignment, overlap requirements, and warranty compliance.
For homeowners considering premium systems, reviewing the benefits of installing a metal roof can provide valuable insight into long-term performance advantages.
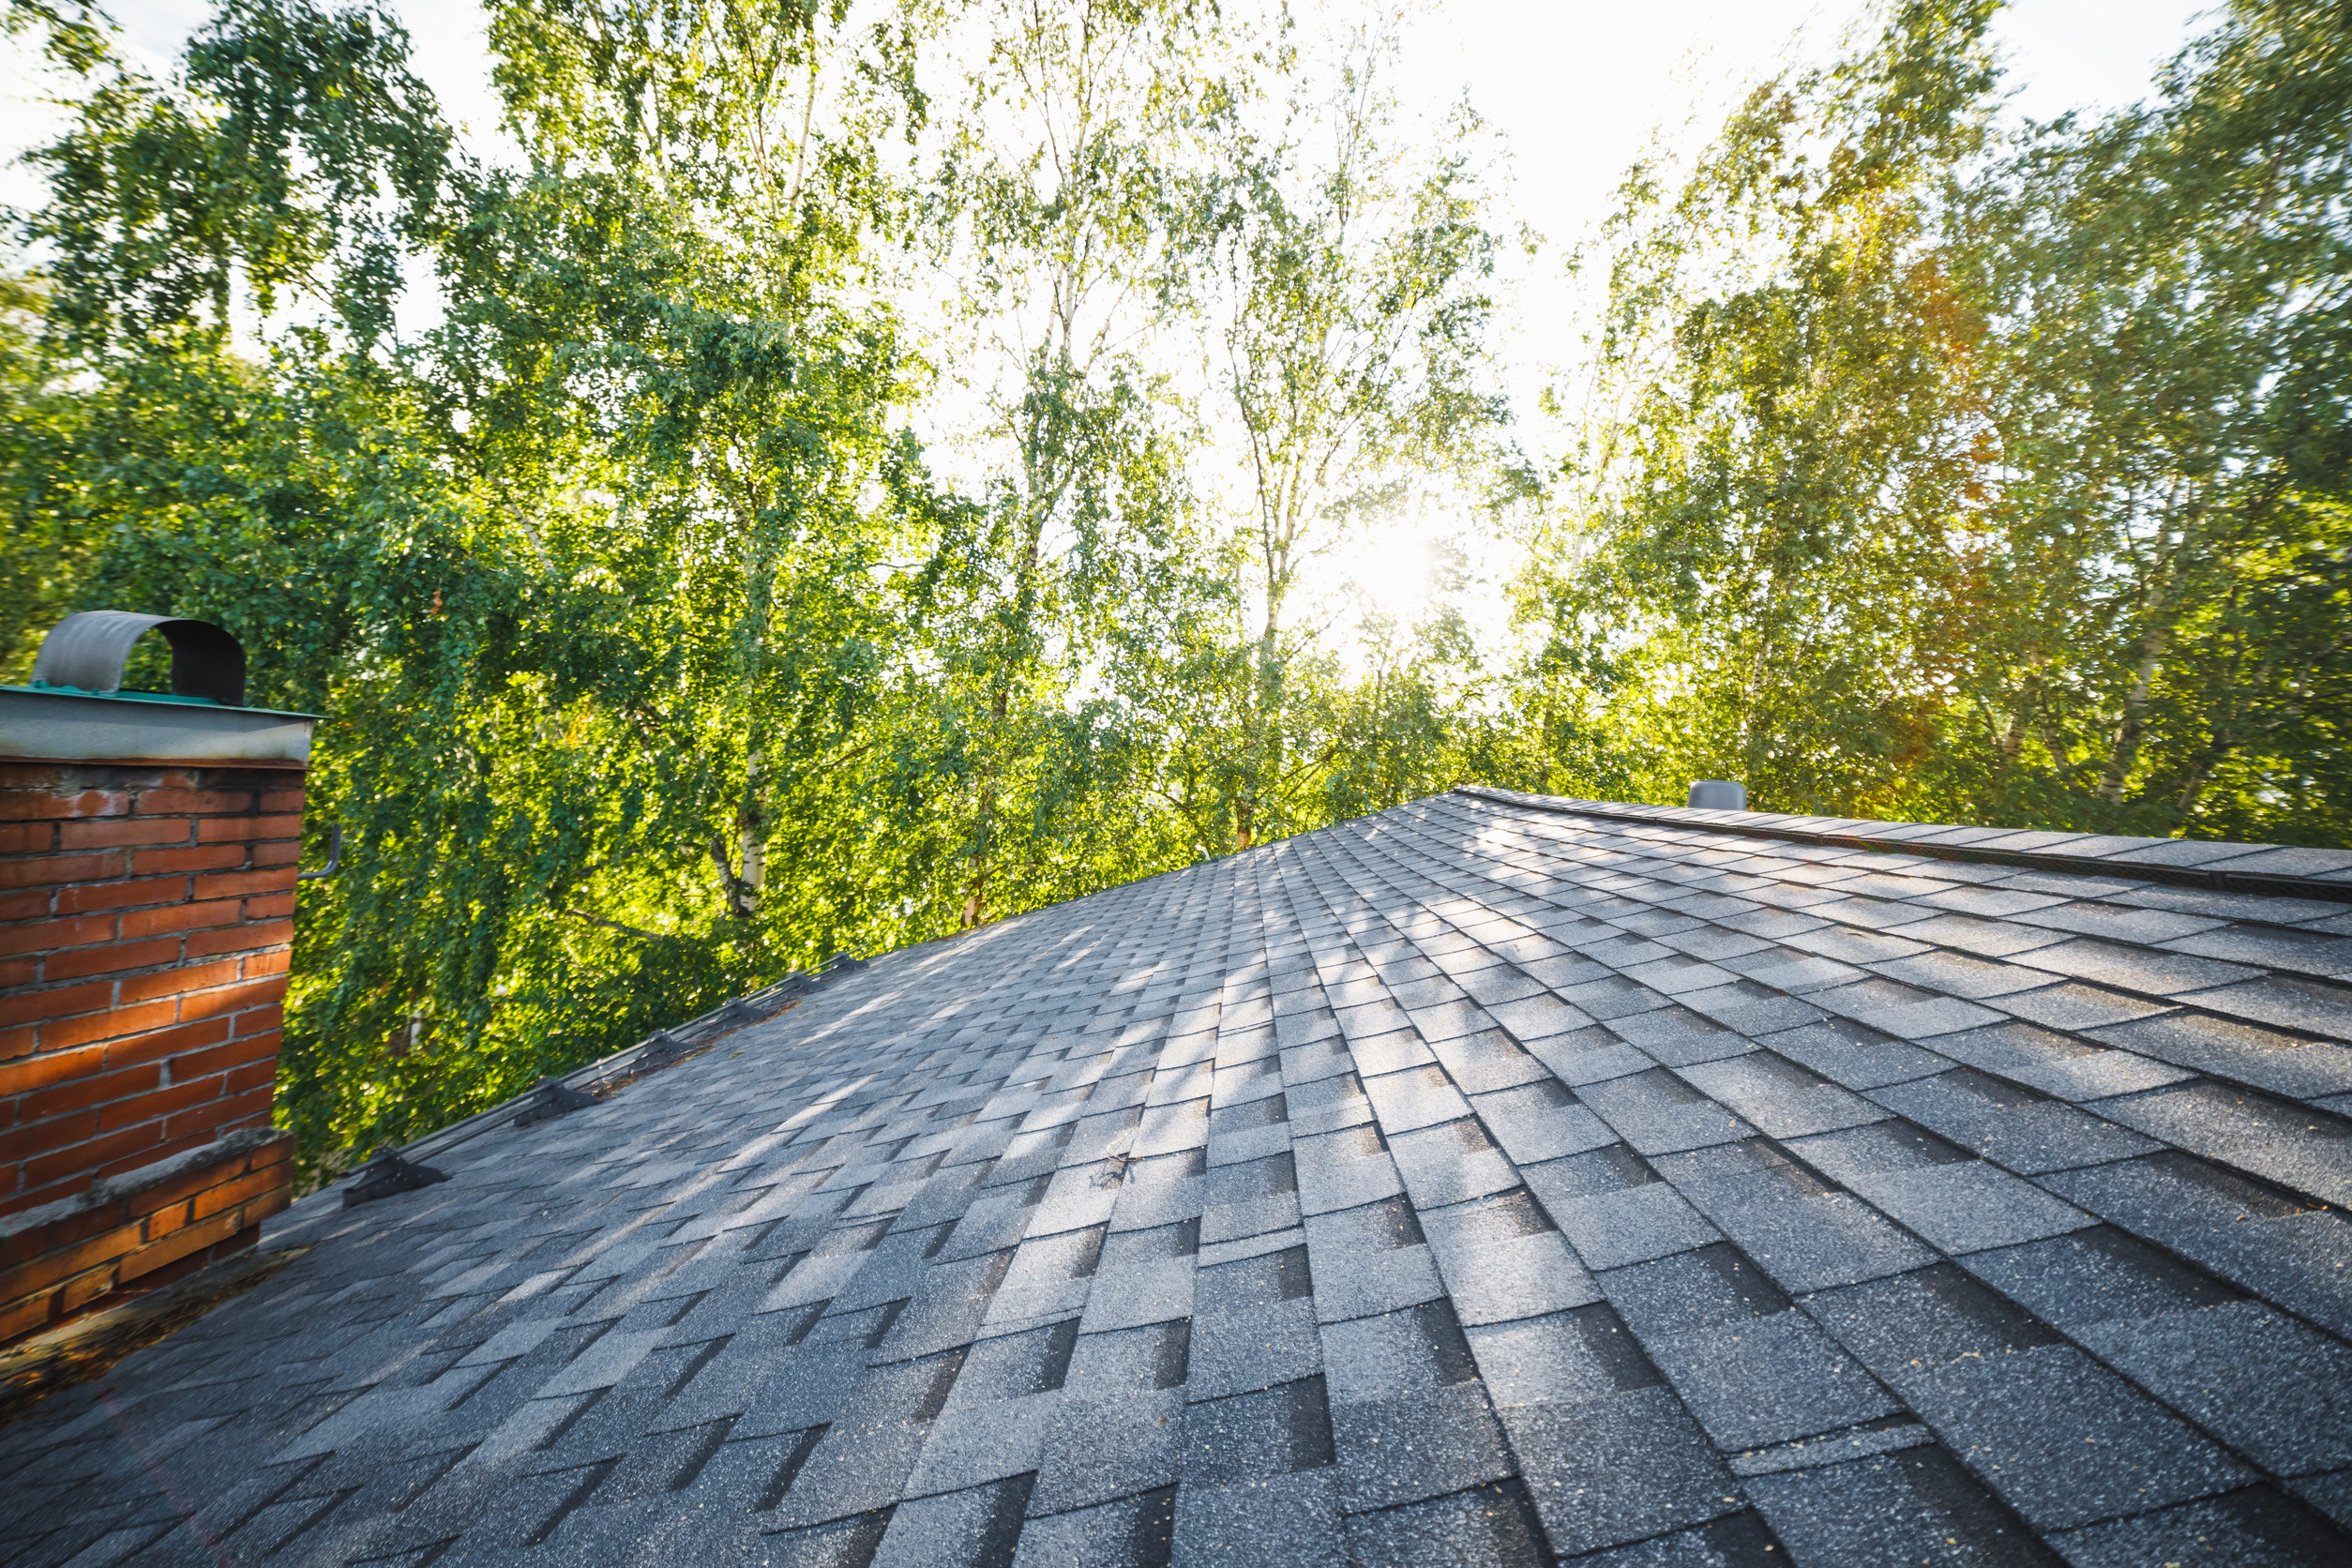
9. Installing Flashing and Roof Components
Flashing is installed around all vulnerable areas where water intrusion commonly occurs, including:
- Chimneys
- Skylights
- Roof valleys
- Vent pipes
- Wall transitions
Additional roofing accessories such as ridge vents, pipe boots, and ventilation systems are also installed during this stage.
10. Final Inspection and Quality Control
After installation is complete, contractors conduct a final inspection to verify workmanship quality and compliance with manufacturer standards.
The inspection typically includes:
- Fastener verification
- Flashing review
- Ventilation assessment
- Leak prevention checks
- Cleanup verification
This final review helps ensure the roof performs as intended and qualifies for available warranty protection.
11. Site Cleanup and Project Completion
Professional roofing contractors perform a thorough cleanup after installation. Debris, nails, old materials, and excess supplies are removed from the property.
Many companies utilize magnetic sweepers to collect stray nails and protect homeowners, pets, and vehicles from potential hazards.
12. Ongoing Roof Maintenance After Installation
Even a newly installed roof requires routine maintenance to maximize its lifespan. Annual inspections, debris removal, gutter cleaning, and prompt repairs help preserve the roofing system for decades.
Following a proactive maintenance plan and understanding how to maintain your roof after installation can significantly extend roof life while reducing long-term repair costs.
Conclusion
The roof installation process involves much more than replacing old shingles. From inspection and material selection to deck repairs, ventilation improvements, flashing installation, and final quality control, every step contributes to the roof's overall performance and longevity. By understanding the process and working with experienced professionals, homeowners can make informed decisions that protect their investment and ensure reliable performance for years to come.