What to Do When You Find a Roof Leak at Home
Finding a roof leak at home can feel like an emergency, because it often is. Even a slow drip can soak insulation, rot roof decking, stain ceilings, and create mold-friendly conditions long before the damage looks “serious.” The key is taking the right steps immediately, avoiding risky DIY shortcuts, and getting a professional diagnosis fast so the leak is fixed correctly the first time.
This guide walks you through what to do from the moment you notice a leak, how to limit interior damage, how to document what you see, and when it is time to call a professional roofing contractor like RC Roofing LLC for a permanent repair.
Step 1: Prioritize Safety First
Before you grab a bucket or climb a ladder, take a moment to check for hazards. Roof leaks often appear around light fixtures, ceiling fans, and wall outlets, which creates a real electrical risk.
Do this right away:
- If water is dripping near any electrical fixture, turn off the power to that area at the breaker.
- Keep children and pets out of the affected room.
- Watch for sagging drywall or bulging ceiling areas that could collapse.
- Avoid standing on ladders directly under a heavily soaked ceiling.
If the leak is fast-moving or near your breaker panel, call a professional immediately. Safety comes first.
Step 2: Contain the Water to Limit Interior Damage
Your goal in the first 30 minutes is damage control. Even if you cannot stop the leak, you can keep it from ruining floors, furniture, and valuables.
Set up quick containment:
- Place a bucket or large container under the drip.
- Put a towel in the bottom of the bucket to reduce splashing.
- Lay down towels or a small tarp to protect flooring.
- Move electronics, furniture, rugs, and décor away from the affected area.
If water is spreading across the ceiling
Sometimes water travels along drywall and drips far from the entry point. If you see multiple drip areas, set up multiple containers so water does not spread across a wider area.
If the ceiling is bulging
A bulging ceiling bubble means water is pooling above the drywall. That can collapse and dump water all at once.
If it is safe, you can carefully puncture the lowest point of the bulge with a small screwdriver so water drains into a bucket in a controlled way. This is not a fix, but it can prevent wider ceiling damage.
Step 3: Document Everything While It Is Fresh
Even if you are not sure you will file an insurance claim, documentation helps your roofer diagnose the issue and it protects you if you need a record later.
Take clear photos of:
- Ceiling stains, bubbling paint, or dripping water
- Damaged drywall, trim, or flooring
- Water near electrical fixtures
- Attic moisture if it is safe to access
- Exterior roof areas you can see from the ground
Write down details:
- When you first noticed the leak
- Whether it appears only during heavy rain or steady rain
- Whether it started after a recent storm or high wind event
- Which room or ceiling area is affected
If the leak seems storm-related, it also helps to review the steps in what to do after a storm damages your roof so you stay organized and protect your home.
Step 4: Check the Attic Safely if Conditions Allow
If your attic is accessible and it is safe to enter, you may be able to identify the general leak zone. This is useful information for a roofer, but do not take risks.
Safety reminders:
- Use a flashlight or headlamp.
- Step only on framing members or a safe walkway.
- Avoid touching wet insulation with bare hands.
- Leave immediately if you see any electrical hazards or unstable surfaces.
What to look for:
- Wet insulation directly under a roof penetration
- Darkened wood or shiny damp areas on rafters
- Water trails running along framing
- Dripping near chimneys, vents, skylights, or valleys
- Daylight shining through roof decking
If you can safely take photos, do it. A professional can often identify likely causes quickly based on attic moisture patterns.
Step 5: Do Not Climb on the Roof
This is one of the most important rules. Roof surfaces can be slick even when they look dry, and damaged areas can be structurally weak.
Why roof access is risky:
- Wet shingles and metal panels are slippery.
- Soft decking can collapse under your weight.
- Wind gusts can destabilize ladders.
- Walking on shingles can cause additional damage.
- DIY patching often misses the true leak source.
If you are tempted to “just check it,” pause and read why DIY roof repairs can cost you more. It explains why quick homeowner fixes often create bigger, more expensive problems.
Step 6: Understand What Usually Causes Roof Leaks
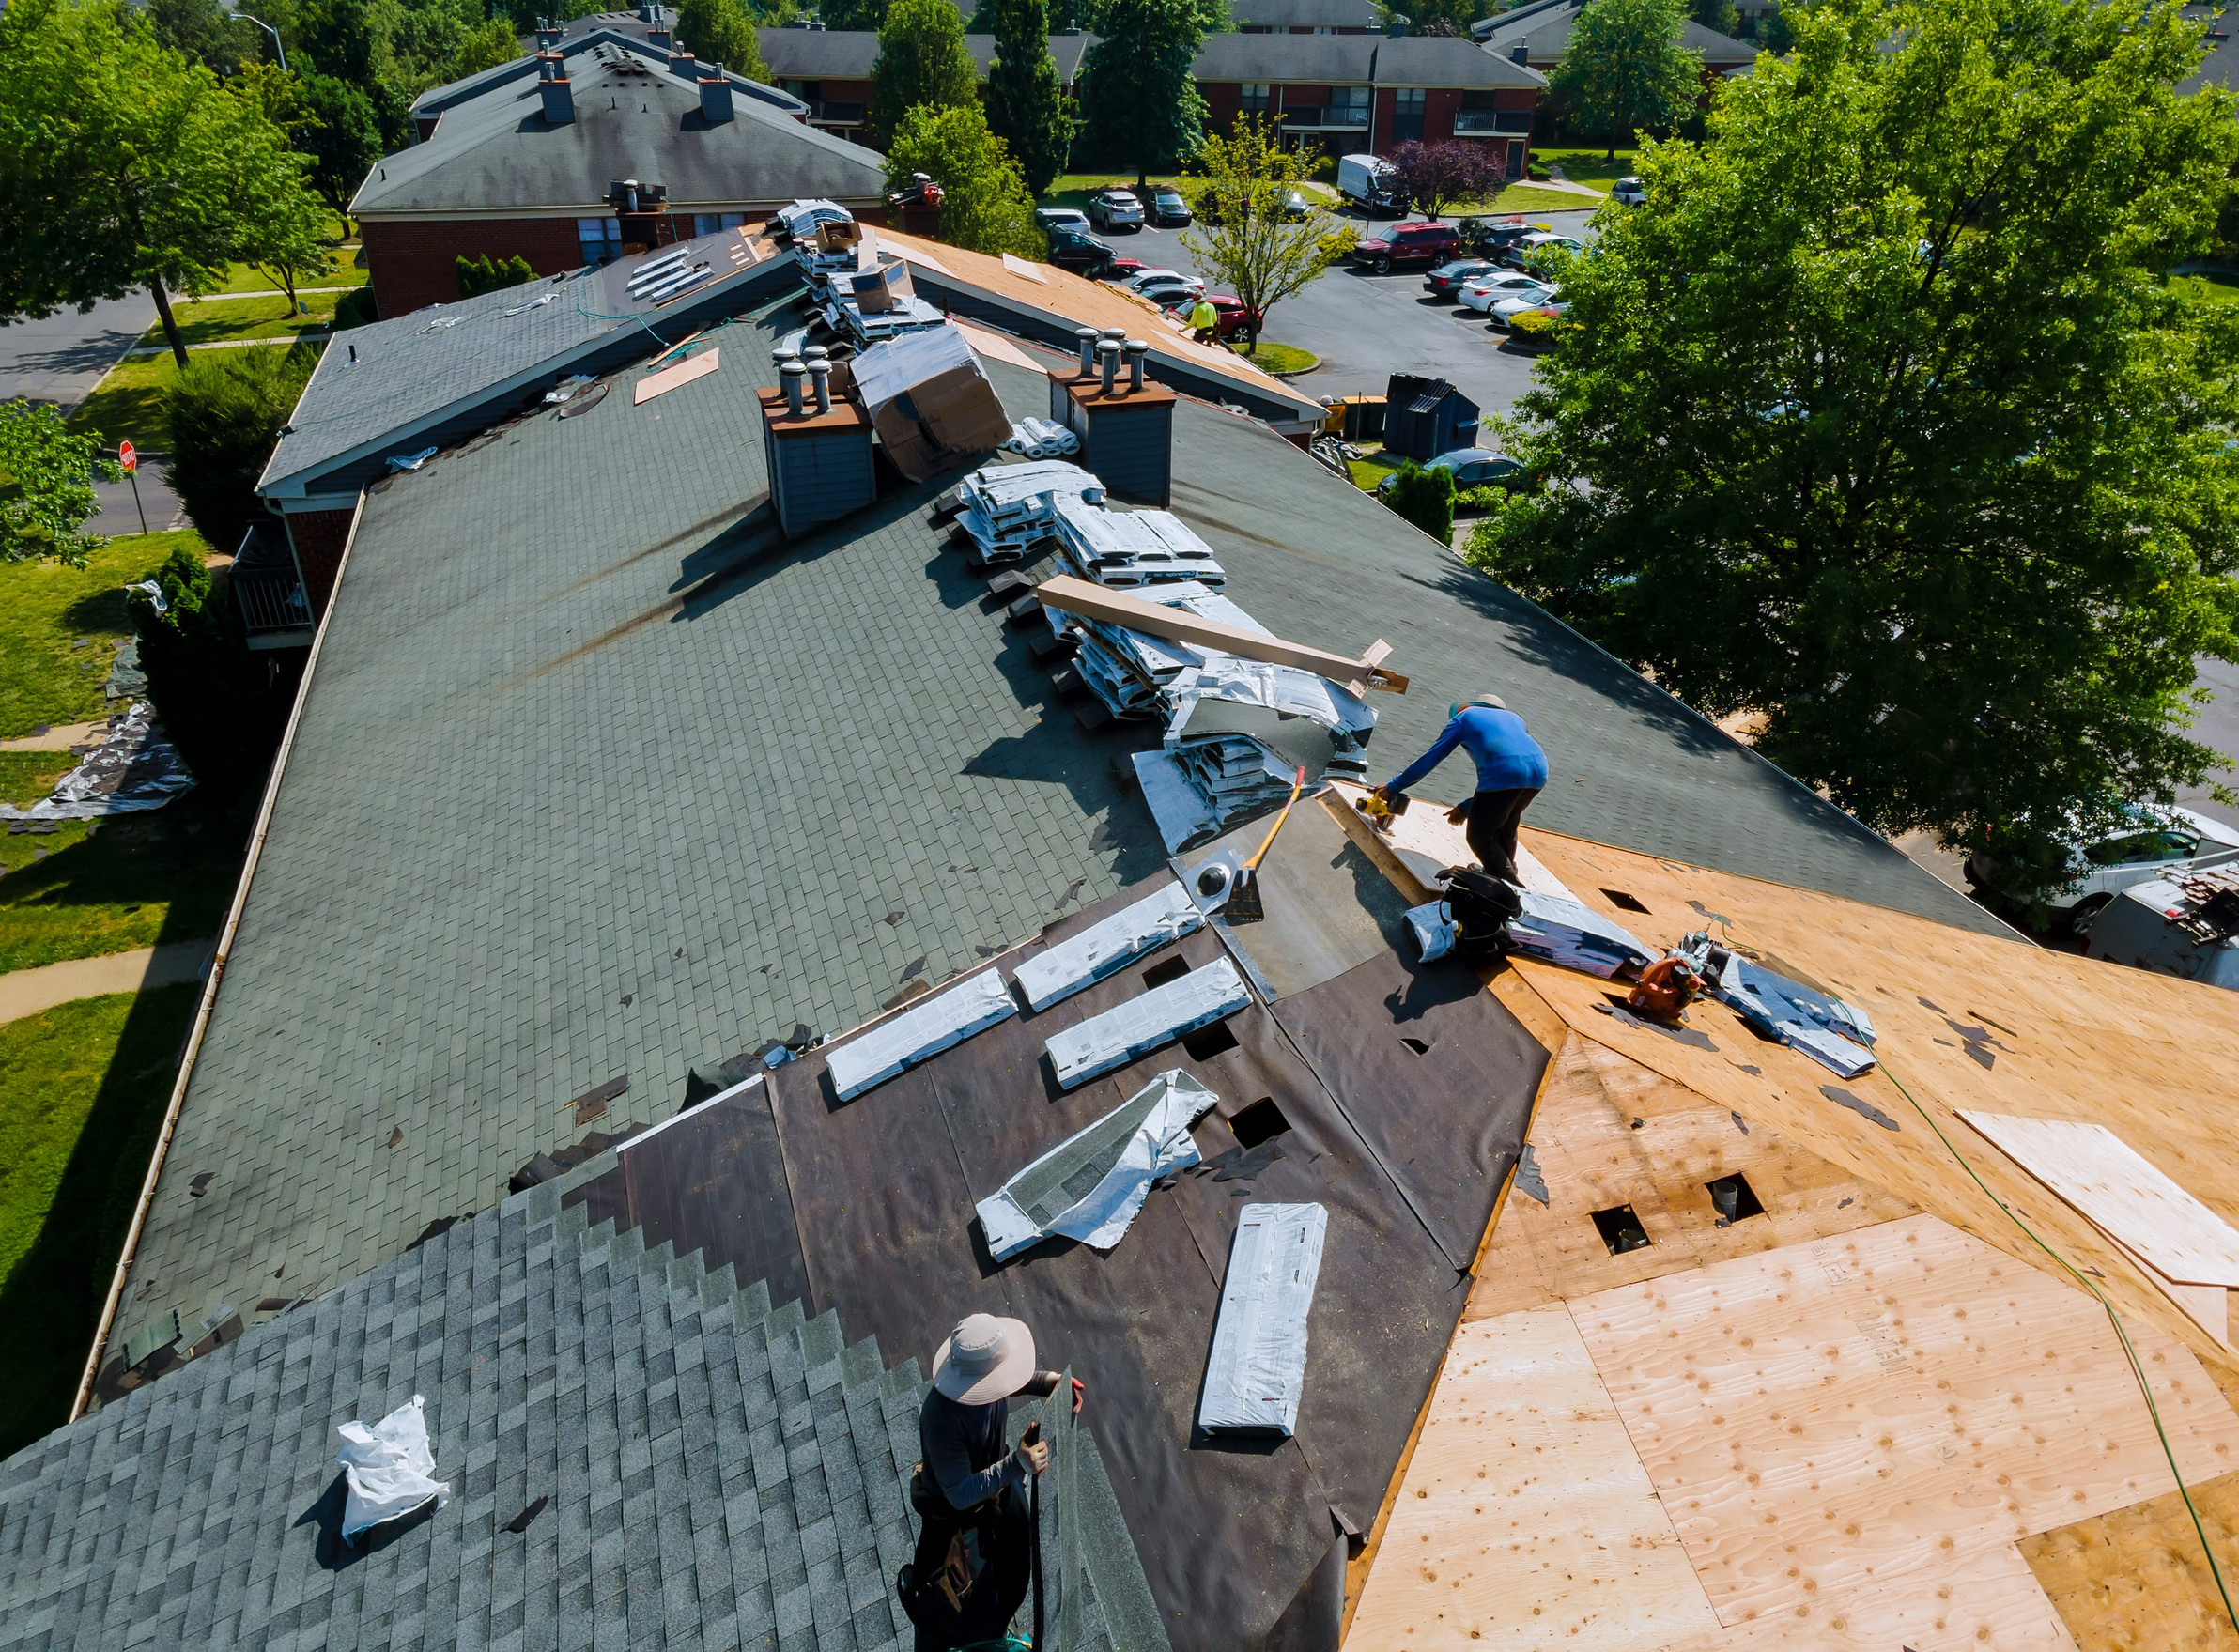
Most homeowners assume a leak means “bad shingles,” but many roof leaks start at transitions and penetrations, especially flashing.
Common leak causes include:
- Missing, cracked, or lifted shingles
- Worn or improperly installed flashing
- Cracked vent pipe boots
- Valley issues where roof slopes meet
- Skylight flashing failures
- Clogged gutters causing water backup at roof edges
- Poor ventilation causing attic condensation that mimics a leak
To learn more about the variety of issues that can lead to leaks, review common roofing problems and how to fix them.
Step 7: Pay Special Attention to Flashing
Flashing is one of the most common leak sources on residential roofs, because it protects the weakest points where the roof meets chimneys, walls, skylights, and vents.
If the leak seems to be near:
- A chimney
- A skylight
- A plumbing vent
- A wall intersection or dormer
There is a good chance flashing is involved. Flashing repairs require correct overlap, correct placement, and integration with the roofing system. Surface caulk is rarely a lasting solution.
Step 8: Check Gutters and Drainage, Without Taking Risks
Bad drainage can turn normal rainfall into a leak, especially when gutters overflow and water backs up under shingles at the roof edge.
From the ground, check for:
- Overflowing gutters during rain
- Visible sagging sections
- Downspouts dumping water too close to the foundation
- Heavy debris buildup
Step 9: Know When the Leak Needs Immediate Professional Help
Some leaks can wait a day or two if you have good containment, but many should be treated as urgent.
Call a roofer right away if:
- Water is actively dripping through the ceiling
- The leak is near electrical fixtures
- You see sagging drywall or heavy ceiling bubbling
- The leak started after a major storm
- Multiple rooms are showing stains or damp spots
- You suspect structural damage or soft decking
If you are unsure how serious the problem is, compare what you are seeing with top signs your roof needs immediate repair.
Step 10: Get a Professional Inspection and a Permanent Repair Plan
A roof leak can be deceptive. Water can enter at one point and travel before it shows up inside your home. Professional roofers know how to trace moisture patterns, inspect flashing details, and identify hidden damage.
A professional inspection typically includes:
- Exterior evaluation of shingles, flashing, valleys, and penetrations
- Attic inspection for moisture trails and wet insulation
- Identification of the true entry point, not just the interior symptom
- Repair recommendations prioritized by urgency
- Photos or documentation of findings
If you want to stop guessing and get a clear plan, the fastest next step is to request a free roof inspection and estimate from RC Roofing LLC.
Step 11: Repair or Replace, How to Make the Call
Not every leak means you need a new roof. Many leaks are isolated and repairable, especially when the roof is relatively young and the damage is localized.
Repair is often enough when:
- The leak is confined to one area, such as a vent boot or flashing section
- Shingles are generally in good condition
- The roof is not near the end of its expected lifespan
- There is no widespread granule loss or curling
Replacement may be smarter when:
- The roof is older and showing widespread wear
- You have recurring leaks in multiple areas
- The decking shows signs of rot or soft spots
- Shingles are brittle, cracking, or lifting across large sections
If you are unsure which path fits your situation, read is a roof repair or replacement right for you. It breaks down decision factors clearly.
If replacement becomes the right move, these two resources help homeowners plan confidently:
Step 12: Prevent the Leak From Coming Back
Once the leak is fixed, prevention keeps you from repeating the same stressful experience next season.
Best prevention habits:
- Schedule routine roof inspections and minor repairs early
- Keep gutters and downspouts clear
- Trim overhanging branches that drop debris and damage shingles
- Watch for flashing wear around chimneys and vents
- Check attic ventilation and insulation to reduce moisture buildup
If you want a complete upkeep plan, use the ultimate guide to roof maintenance as a year-round checklist.
Why Working With RC Roofing LLC Is the Best Option
A roof leak is rarely a “one product” fix. It requires experience, safe access, accurate diagnosis, and correct integration with the roof system. That is why hiring a professional roofing contractor is usually the best option, especially if you want a repair that lasts.
RC Roofing LLC provides both residential and commercial solutions across East Tennessee. If you need service beyond a simple repair, you can explore:
- residential roofing services for homeowners
- commercial roofing services for businesses and property managers
When you are ready for a clear diagnosis and a documented plan, start with a free roof inspection and estimate.
Final Checklist: What to Do When You Find a Roof Leak
If you want the quick version, follow this order:
- Turn off power to affected areas if water is near electrical fixtures.
- Catch water with buckets and protect floors and furniture.
- Photograph stains, drips, and any visible damage.
- Check the attic only if it is safe and dry enough to enter.
- Avoid roof access and avoid DIY sealant patches.
- Call a roofer quickly if there is active dripping or ceiling sagging.
- Get a professional inspection to locate the true source.
- Complete a permanent repair, then follow a maintenance plan.
A roof leak is stressful, but the right steps can prevent it from becoming a major home repair event. Fast containment, accurate diagnosis, and professional repair are what stop the problem before it gets worse.